MarioGuti's avatar

MarioGuti

Always behind the lens
1.1K
Watchers
385 Deviations
51.8K
Pageviews

The work is huge. By browsing a bit over this website I easily find amazing pictures without the deserved appreciation. I keep putting my hopes on these journals helping them get the deserved visibility and helping them get finally well-rated. 

Here's another bunch of images to enjoy (and again, I strongly suggest you to show some support by faving or commenting or doing some sort of interaction with the artists).
 

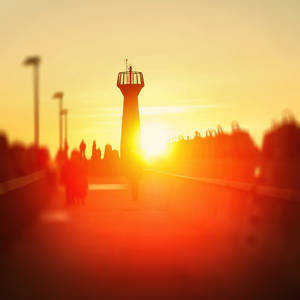
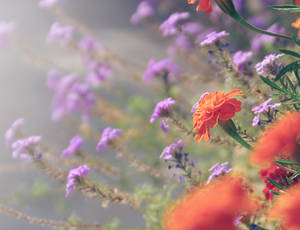
Formation by DrAndrei    Venaria Reale ii by vlad-m  Fair by Caitiekabob dvs135 by ForrestBump    Fresh orange juice by Daykiney  Heading home by in-my-viewfinder   . . . by sandrawiklander  Skybound by Mega-Shots 

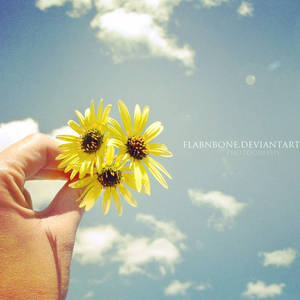
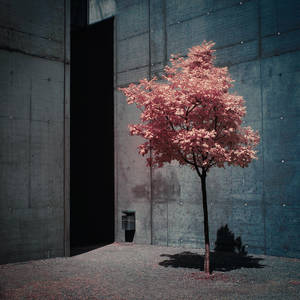
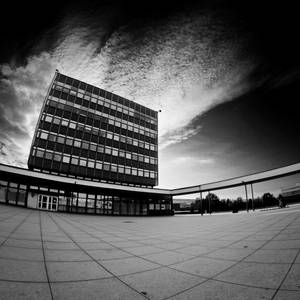
 University by RadoslawSass Et nous les pauvres by Pierre-Lagarde Staying Warm by Ragnar949  Stories no one cares about by paranenormalus S u m m e r II by FlabnBone Over the Sea and Far Away by ivica-r sunset on the sea by all17  Bright Light by Alyss6 ... by ragekay  Orange room by invisigoth88 In mine cateodata by AlexandrinaAna  Chateau Lumiere by FatmeBondage Nice 13 by calimer00 Farwakonogy I by fredScalliet   flowered fence by artmobe  

Hope you enjoyed them. If you spot any great, underrated work don't doubt on sending me a note and I'll probably add it in further features.


Coded by Astrikos
Join the community to add your comment. Already a deviant? Log In
Hello, after a long break I'm back on dA and during this time one idea has been constantly crossing my mind: there are lots of great pictures on this site which are totally undiscovered and underrated. This is the reason I'm featuring here some of these photos which are amazing but which I believe they haven't become too popular.

In case you like any of the pictures (or all of them, which I hope!) I strongly suggest you to interact by faving, commenting, etc. That's some extra fuel for we all photographers, and I'm sure they'll appreciate it, and it'll also encourage them to continue working.   


     2/52 by Sturmideenkind    Depart From Me by disies
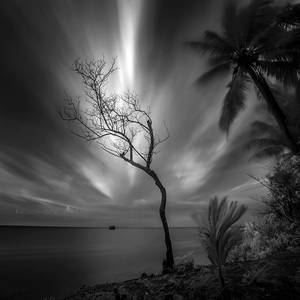
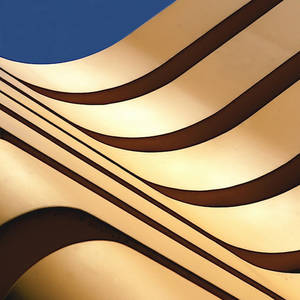
     Sparse Island by Hengki24  Wall Art by Einsilbig  assistance is provided by EintoeRn
       Like a Violin by Einsilbig  no excuse by EintoeRn
     Untitled by grivachoz    Sunday by dynax700si
      Going to Heaven. by oro-elui  sparks by akthuro  byssus by sorny
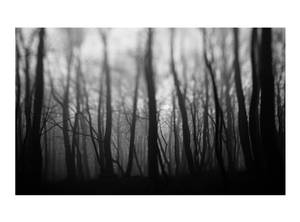
  Misty place by PawelUchorczak    i have returned from my dreamland by ateist-kleranty   Lighthouse by Hengki24  The Dirty Look by Jamie-MacArthur  Sometimes sun shines through the rain by m-eralp    
         echando de menos el otono by kriakao    . . . by sandrawiklander
           Concentrate on the people important to you! by Redanshy  
        Myllyjarvi by m-eralp  I was a dandelion by vesaspring  Bonheur by arefin03
       D A Y B R E A K by MARX77    
                connections by m-lucia 
                  Leave Your Lover by Fuao  9 lives by PsycheAnamnesis

Hope you enjoyed it, I'm looking forward to make some more, since I find them really neccesary on this site. If you see any great, underrated image, please, send me a note and I'll add it to further features. 

Thanks so much everybody!


Coded by Astrikos
Join the community to add your comment. Already a deviant? Log In
Hello! After a while not posting anything at all I wanted to share my views on one alternative lens I got not long ago, and also share some shots using this glass. The lens is a Soviet Helios 44M-4 58mm f/2 lens.


Introducing the lens:

From what I've read about it before I got it, it's one of the most popular lenses from the former USSR (soviets were really good at photography equipment so I decided to give it a try). The lens was made by the brand Zenit, one of the most famous from the USSR. It's a small, simple-built lens.


It's a fixed focal lens (58mm) and its maximum aperture is f/2, making it really bright.
Price: on eBay you can get them from 20€ (there are several versions, mine is the 4th version). I got it for 29€ (this one was almost brand new) + 6€ from the M42 adapter*
*You must have in count that you need a M42 adapter to fix it to modern DSLR cameras.


Personal views

35€ for a f/2 lens...what can I say! It's an amazing, much cheaper alternative to any modern 50mm f/1.8 if you don't mind focusing manually. The sharpness won't be the same as modern 50mm lenses though, that's sure, science advances!

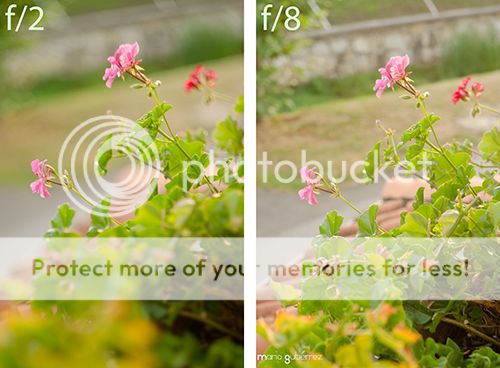
The bokeh on this one is really soft, I like it better than the bokeh on my Nikkor 50mm f/1.8 D. Being so soft you must be really accurate focusing at f/2. Also, at this f/2 aperture setting, the edges aren't sharp. Nevertheless, at higher apertures edges are okay and you still get a nice unfocused background.

One important problem of these lenses which need adapters, is that it's technically impossible to focus at infinite. So this one would only serve if you have a focused foreground closer than around 2 meters.

Four fast-made pictures shot at f/2 so that you can see the foreground bokeh and the focus softness (sorry I haven't had enough time yet to shot some more with this lens):


And now two comparisons between two shots shot at f/2 and f/5.6, and two shots shot at f/2 and f/8.


Hoping you like them and hoping somebody starts getting interested about these not-so-known lenses which are so attractive and exotic to me. I love exploring sites like eBay looking for the cheapest bargain.

In case you buy it and have some doubt or just feel like sharing your thoughts/works with it, I'll be really glad to hear from you. There's usually some Helios 44M on eBay for a low price so I'd say you'll always be able to get one.
Join the community to add your comment. Already a deviant? Log In
Hello! After a break I'm back with Journal entries and this time I think we'll go a bit further than just shooting with things we buy built: we'll build a filter ourselves.

Which filter will we build? For what it can be useful? 

We'll be making a dark filter with a welding glass (those glasses you put in the welding mask not to get your eyes burnt with all the light coming from welding). These glasses have a green dominant, that's why we should turn them into monochrome (B/W, Sepia, etc) in postprocessing. The best thing is that I got the glass in a hardware shop for only 2 euro!

photo _DSC0779_zps498b7ae5.jpg

Personally I've glued a 77mm ring (for my Sigma 10-20, check your lens measures) I had from another filter that got broken. I know these rings are quite uncommon but maybe you can buy a UV filter (on eBay they cost 5 euro) and remove the glass. If not there's one element called Blu-tack which is a bit like chewing gum and maybe you can stick it to the lens (you can remove it easily and it leaves no marks).

photo _DSC0778_zps4e88aabd.jpg

photo _DSC0775_zps5088741d.jpg

And in case you don't feel like building your own filter, for around 30 euro on eBay you can get INFRARED FILTERS, which serve for the same purpose although I feel they're not as dark as these welding filters. I've used for long Infrared filters and I'm now switching to the welding glasses.

USING THE FILTER WE'VE BUILT:

Since it's dark, before putting the filter we'll have to frame and compose the photo using a tripod, then we'll have to focus and block the focus. After that, we put the filter and we shoot using a remote control or Auto-shooter.

How much exposure time and what aperture should we use? This obviously depends on how much light there is outside and how strong is the glass you've bought. Nevertheless I often use f/8 since I feel it's the "sweet point" of my 10-20 (the Aperture setting where the focus is sharper), and I first try with 30 seconds. If after this first shot I feel it's still too dark I try with 1 minute or more. If I feel it's too clear/burnt, I set a higher aperture since with less than 30 seconds you usually can barely feel the clouds moving.

Some of the results (and many more coming, I'm still in the experimenting period with these):

photo cargaderobn2500px_zpsd37ab8b6.jpg


As always, in case you try it, show me the results! Also I'll be pleased to answer any doubt/question about these and help personally anyone about this subject or Photography in general.

Join the community to add your comment. Already a deviant? Log In
Hello, I've decided to share some of my original images next to the final edited results, so that you can see the difference -sometimes huge, sometimes not that obvious- between them. 

The software I use to edit them is Lightroom 3.4 (for colour and lightning) and Photoshop CS6 (for cloning, deleting and moving things). The way I edit the colour and lightning is quite intuitive, that's why I see kind of hard to make a tutorial to explain. Each picture is asking for different settings so I'd just reccomend to experiment until you find some result you are happy with. I've chosen 12 before/after examples:

-Sepia and B/W edition:

photo 12_zps80bc70b0.jpg
_______________________________________________________________

photo 10_zpsbb56e78b.jpg

-Colour and lightning enhancing:

photo 9_zpsa0d7dd97.jpg
_______________________________________________________________

photo 8_zps8d748dcf.jpg
_______________________________________________________________

photo 7_zpsbf1d16e0.jpg
_______________________________________________________________

photo 5_zps846aaa5d.jpg
_______________________________________________________________

photo 4_zps8e601bfb.jpg
_______________________________________________________________

photo 3_zps1bcf1406.jpg
_______________________________________________________________

photo 2_zpsb83c7a8e.jpg
_______________________________________________________________

photo 1_zps057a7ae4.jpg

-Colour and lightning enhancing, plus some more (let's see if you can find the differences):

photo 6_zps71c2bdd6.jpg
_______________________________________________________________

photo 11_zpse0e08fa5.jpg

*EDIT 16 April 2013: Since ~pixelmaedchen asked me to post the before/after of my photograph 'Glass, concrete, and clouds' (marioguti.deviantart.com/art/G…) I'm posting it. I'm so glad she asked me this since there's something interesting in the edit of this one: shot at 10mm, there was a huge distortion in the vertical lines (just check the lamps before and after to notice the distortion). On Lightroom it is quite easy to correct them, and also on 'Lens Correction' on Photoshop.

photo 13_zpscd8506fc.jpg

I hope you like the way I process my pictures, and I'm always open to your questions and also, in case you wanted to know the original file of any of my works, just ask for it and I'll edit this journal entry.
Join the community to add your comment. Already a deviant? Log In
Featured

Epic pics' - Volume II by MarioGuti, journal

Epic pics' - Volume I by MarioGuti, journal

Alternative lenses: Helios 44M-4 f/2 58mm REVIEW by MarioGuti, journal

DIY: Dark filters for Monochrome long exposure by MarioGuti, journal

Before and after - Postprocessing. by MarioGuti, journal